Last updated November 21, 2026
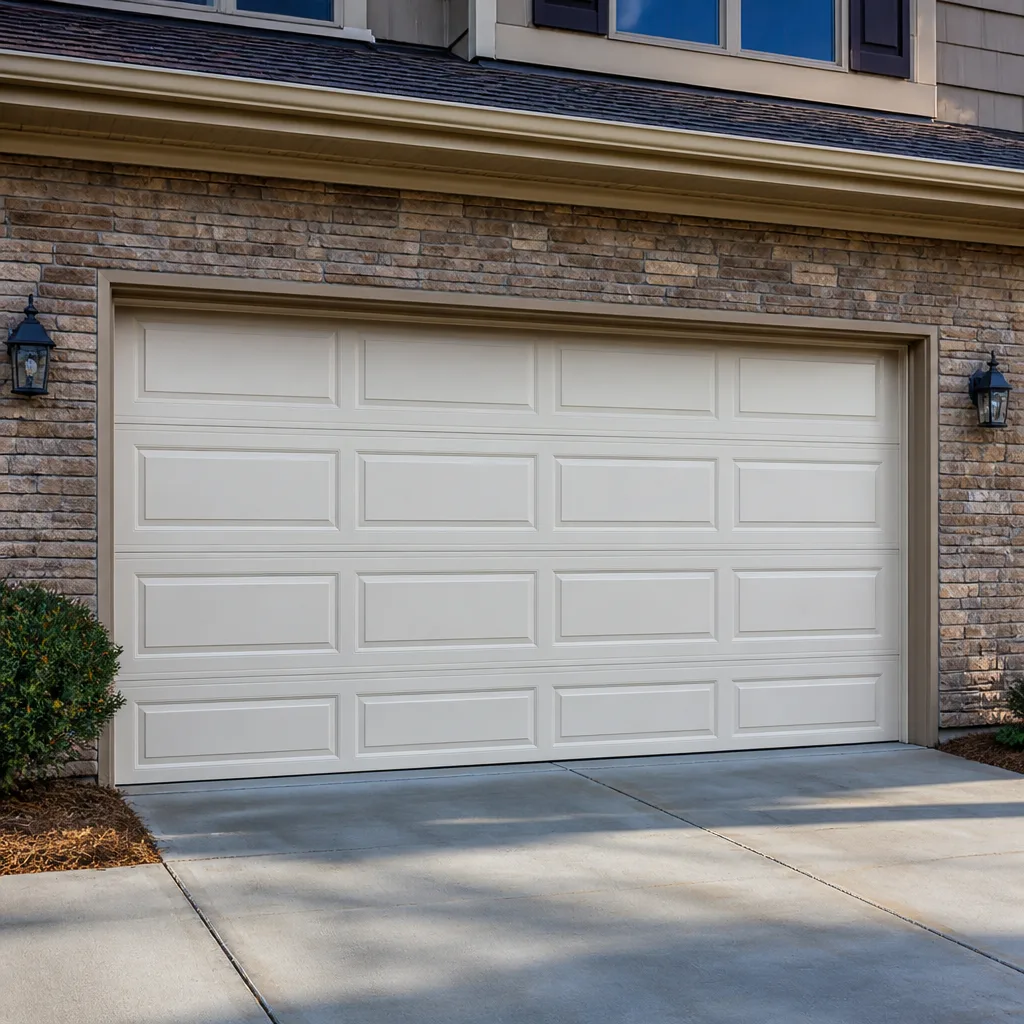 Raised-panel steel
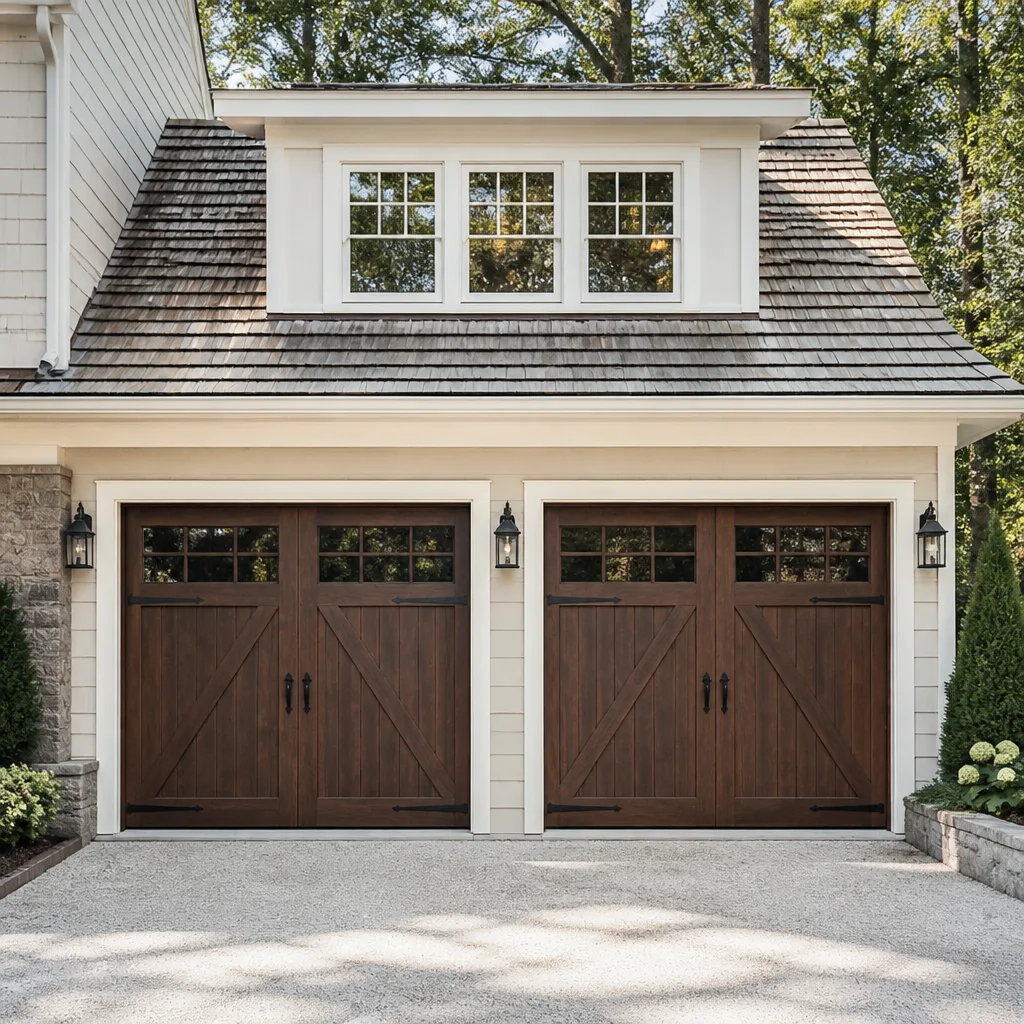 Carriage house
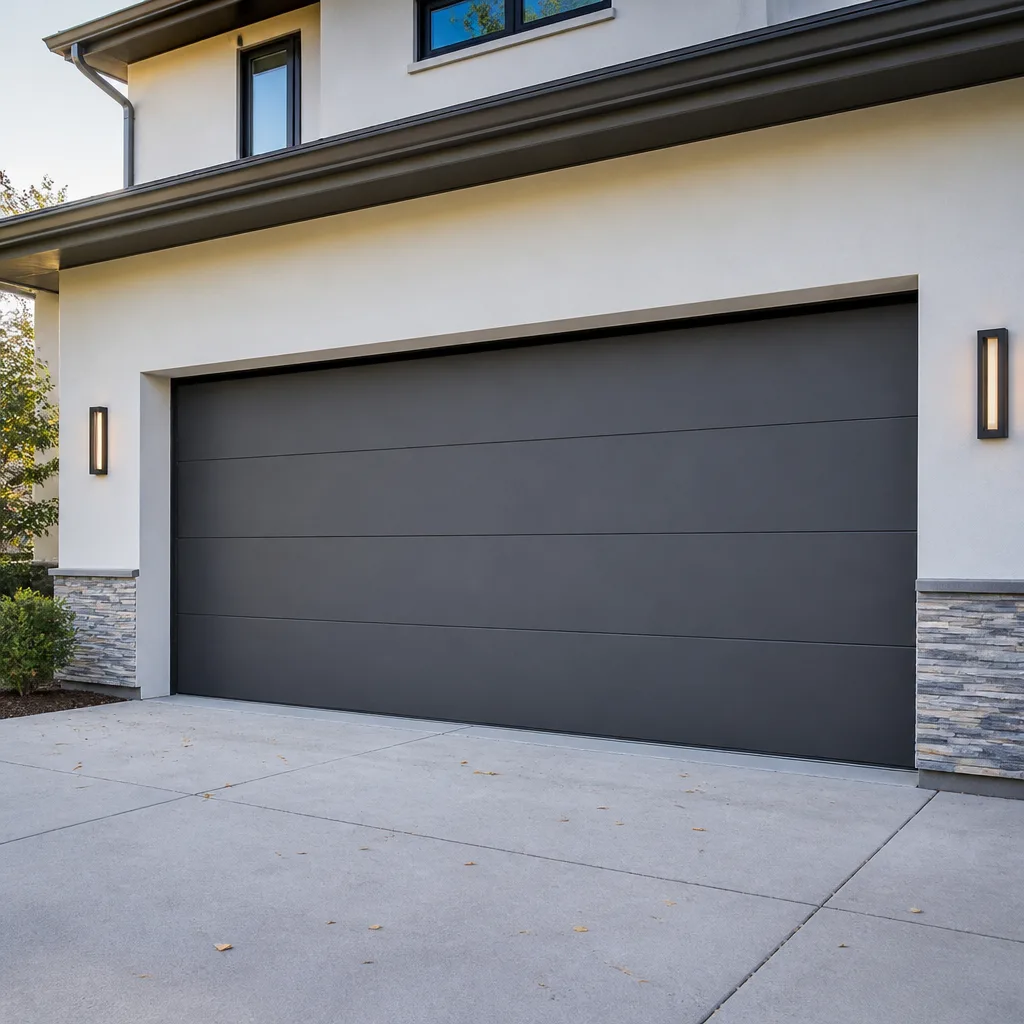 Modern flush
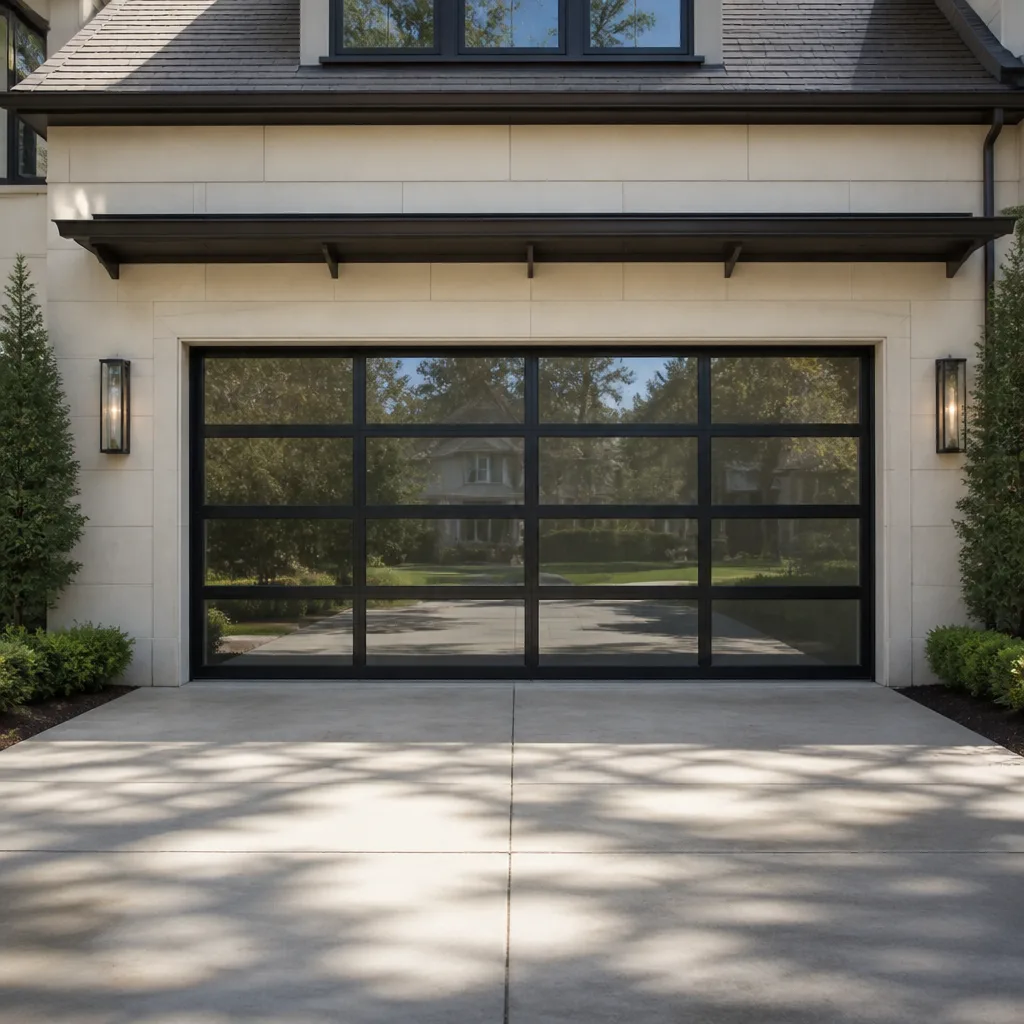 Full-view glass
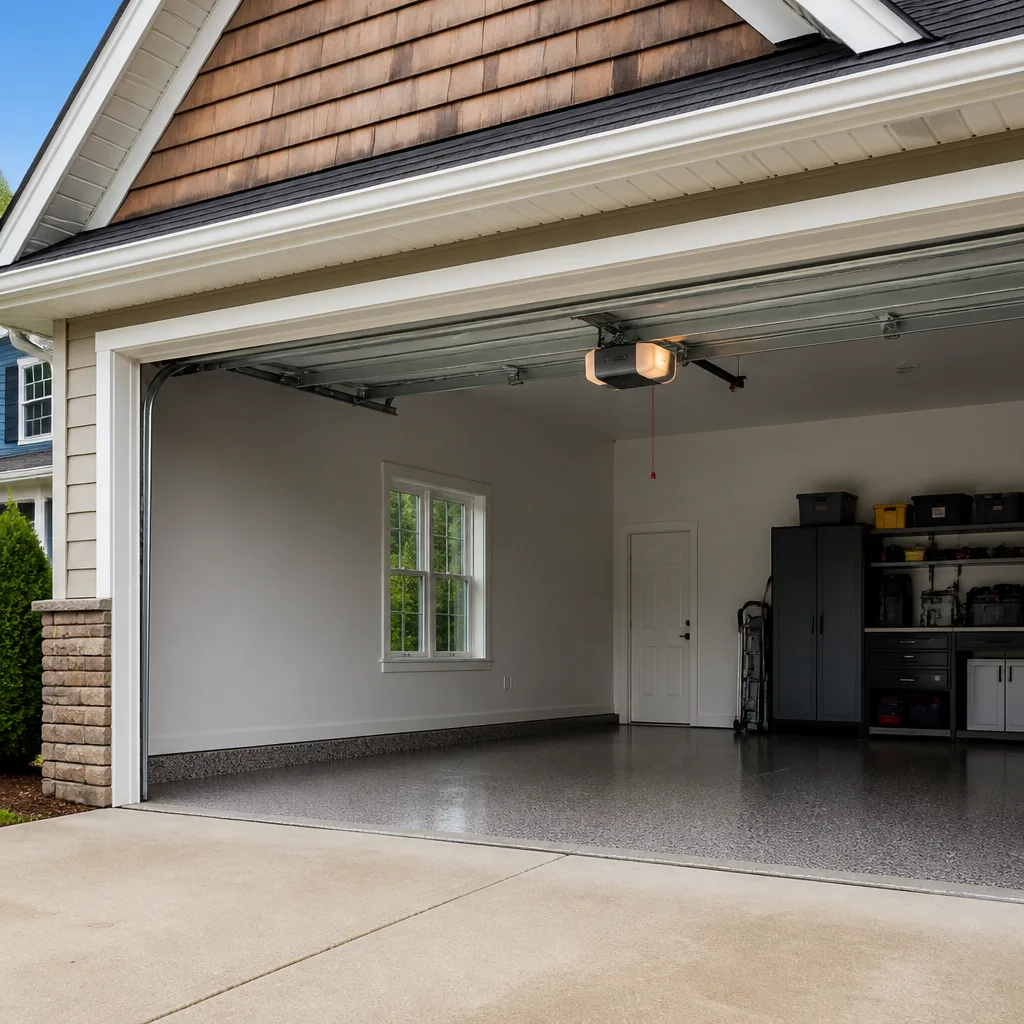 LiftMaster openers
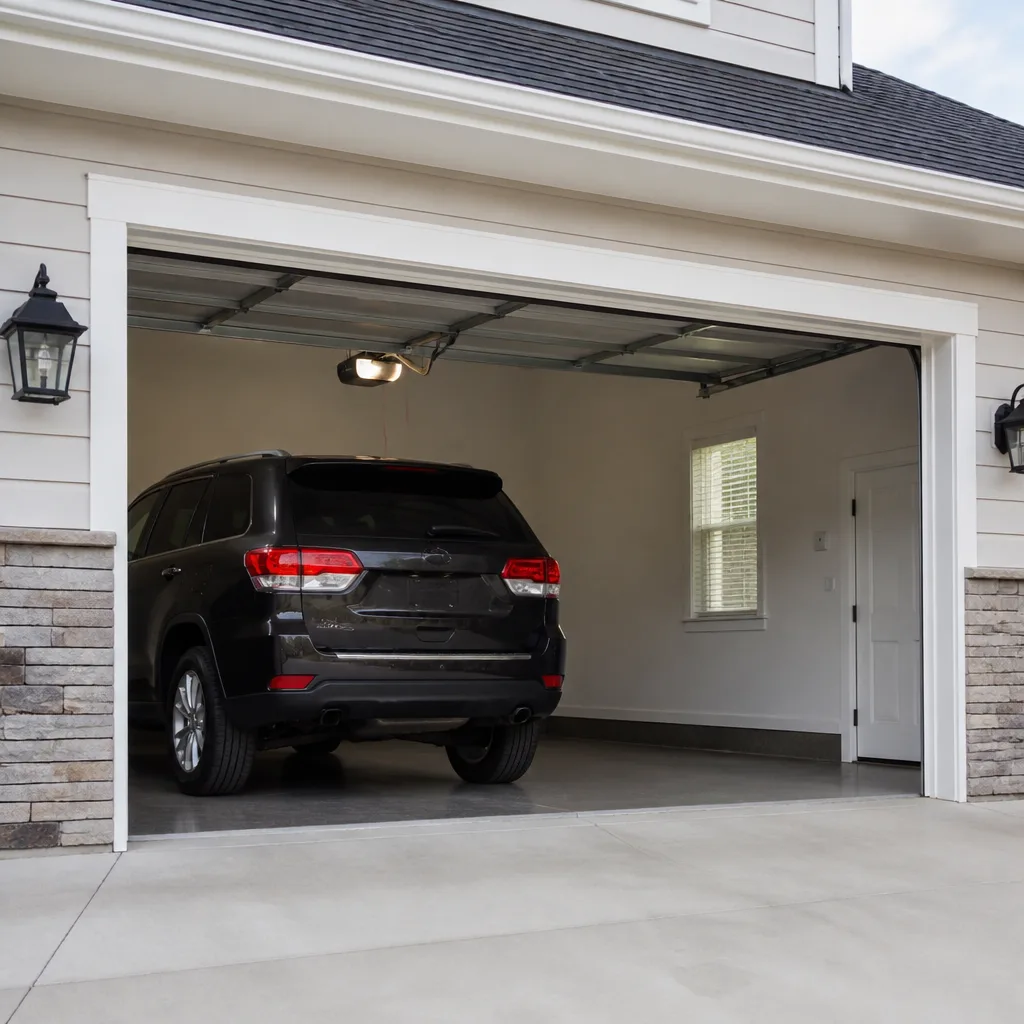 Chamberlain openers
Full 25-point door and opener safety check with every visit - springs, cables, rollers, tracks, and your LiftMaster or Chamberlain opener included
You get a price before we start. It does not change when the pro arrives.
Get your free estimateGarage Door Repair Maintenance Checklist for Plainfield Homeowners
Most garage door failures announce themselves weeks before they strand you. A torsion spring doesn’t snap out of nowhere – it rusts, winds tighter than it should, and starts leaving flecks of orange dust on the floor. An opener doesn’t die overnight – it strains, hesitates, and groans louder each month. The trouble is that almost nobody looks, because a garage door is the one machine in the house we never think about until it stops. This guide is a working checklist for Plainfield homeowners: what to look at, what a real problem looks like versus harmless wear, and how long each item actually takes. You’ll learn what a worn spring sounds like, how to run the balance test most people skip, and which parts need what kind of lubricant in New Jersey’s four-season swings.
Quick Answer
A garage door maintenance check takes about 20 minutes and covers six things: springs, cables, rollers, hinges, the door’s balance, and the opener. Look for rust shedding orange dust, frayed strands on cables, flat-spotted or chipped rollers, loose hinges, and a door that won’t hold itself open halfway. Anything involving springs or cables should be observed from the ground, never touched – call a trained technician for those.
Styles & brands we work with
- Raised-panel steel
- Carriage house
- Modern flush
- Full-view glass
- LiftMaster openers
- Chamberlain openers
Table of Contents
- What to Look for on Torsion and Extension Springs
- The Balance Test Most Homeowners Skip
- How to Safely Check Cables From Ground Level
- Lubrication: Correct Products, Right Places, NJ Timing
- Rollers, Hinges and the Track: The Cheap Fixes
- What Your Opener Is Telling You
- A 20-Minute Monthly and Seasonal Schedule
What to Look for on Torsion and Extension Springs
Springs are the part of your door that does the heavy lifting, and they’re the part most likely to fail first. A torsion spring sits on a shaft above the door; extension springs run along the sides. Both store enormous energy under tension, and both give visible warnings before they break. The trick is knowing which warnings matter.
Here’s what actual wear looks like, versus the harmless kind:
- Orange or brown rust dust around the coils. This is the real warning. When a spring corrodes, fine oxidation flakes off where the coils rub together. You’ll spot a powdery residue on the shaft collar, the floor beneath, or the metal itself. That’s metal thinning.
- Uniform surface discoloration with no powder. A spring that looks slightly darker or has a dull finish but isn’t shedding anything is usually just normal aging. Not urgent.
- A visible gap in a torsion spring. If the coil has a clear separation between windings on one side and not the other, that spring is stressed or has already shifted. Stop operating the door and get it checked.
- Extension springs without safety cables. Look at the long springs running along the horizontal tracks. There should be a steel cable threaded through the middle. Without it, a broken spring flies. If yours has none, that’s a safety gap worth fixing.
- Stretched or kinked extension springs. Compare the two sides. If one is visibly longer or the coils are flattened, it’s lost tension and is compensating unevenly.
New Jersey’s freeze-thaw cycles are hard on springs. Every winter, moisture works into the metal, freezes, expands, and thaws, and over years that micro-damage adds up. Spring wear accelerates in unheated garages, which describes most of Plainfield. If you notice any of the warning signs above, our garage door spring repair team handles this as its own safety-critical job rather than lumping it into a general repair call. Don’t try to unwind or adjust a torsion spring yourself. Those are under hundreds of pounds of tension, and the wrong move can cause serious injury.
Time estimate: 3 minutes to visually inspect both springs. No tools, no touching.
The Balance Test Most Homeowners Skip
The balance test tells you whether your springs are still doing their share of the work. If they aren’t, your opener is, and that’s what leads to premature opener failure. Most homeowners have never run this test and have no idea their door is out of balance until something expensive breaks. It’s also the single best early-warning signal a homeowner can check without training.
Here’s how to do it:
- Close the door fully. Disengage the opener first. There’s usually a red pull handle hanging from the trolley; pull it to release the door from the operator.
- Lift the door by hand to about waist height. Do this slowly. If it feels unusually heavy, stop – the springs are already failing.
- Let go gently and watch. A properly balanced door will stay in place or drift slowly. It should not slam down or spring up.
- Repeat at chest height and then just above shoulder height. Check three positions. A balanced door holds roughly where you leave it at each one.
- Reconnect the opener. Pull the release handle until it clicks back onto the trolley.
What the results mean:
- Door drops fast or feels very heavy on the way up: springs have lost tension and need replacement.
- Door rises on its own: springs are too tight, which is just as much a problem.
- Door holds at one height but falls at another: springs are uneven or one side is binding.
- Door holds at all three positions: good, you’re balanced. Re-test monthly.
A door that fails the balance test is telling you your springs are near the end of their life, and that the opener is straining to compensate. Catching it here means scheduling a repair on your terms rather than dealing with a door that won’t open on your way to work in Plainfield. Time estimate: 2 minutes. No tools required.
How to Safely Check Cables From Ground Level
Cables run along the sides of your door and hold the whole thing in tension with the springs. A frayed or damaged cable can snap, and if it does, the door drops. You can inspect cables safely from the ground without touching them. That’s the way to do it: observe, don’t poke, don’t pull, don’t try to reroute anything with a screwdriver.
Stand back and look at each cable with your eyes only. Here’s what to look for:
- Stray strands sticking out. A healthy cable is a tight bundle of wire running smooth and even. If you see individual wires separating from the bundle, that’s fraying, and it’s a real problem.
- Kinks and birdcaging. If a section of the cable bulges or twists into a coil shape, the cable has been damaged internally. The kink means it’s weaker there.
- Rust staining or discoloration. A cable that’s turning orange or has rust streaks along its length is losing strength. Treat it as failing.
- Sagging. Either cable should run fairly taut and parallel to its track. A sagging cable is slack and either out of adjustment or on its way out.
- Fraying near the drum or bottom bracket. Those are the contact points where cables wear fastest. Look closely at each end.
If you see stray strands, kinks, or rust, do not operate the door any more than necessary. Call for help. Cables are one of the components where “I’ll just try to tighten it myself” is genuinely dangerous – a snapped cable can whip. When we take a cable call in Plainfield, we inspect the full system (cable, spring, drum) together, since a bad cable usually points to a spring that’s been straining longer than the owner realized.
Time estimate: 2 minutes. Two positions: one standing in the middle of the garage looking left, one looking right.
Lubrication: Correct Products, Right Places, NJ Timing
Lubrication is the part most homeowners get wrong, mostly by reaching for WD-40. WD-40 is a solvent, not a lasting lubricant – it’ll strip existing grease and evaporate fast, leaving metal drier than before. What you want is a purpose-made white lithium grease or a silicone-based lubricant for garage doors. Choose one and stick with it.
Here’s where to put it, and how often in Plainfield’s conditions:
- Rollers: every moving roller, twice a year, spring and fall, plus once mid-summer if the door sees heavy use. White lithium works well.
- Hinges: every hinge pivot point, once every 6 months. A few drops of lithium grease per hinge.
- Torsion spring (lightly): a thin coat along the coils reduces friction and slows corrosion. Every 6 months. Don’t overdo this one – a light film is all it needs.
- Lock and handle mechanism (if manual): every 6 months with a silicone or graphite lubricant.
- Opener trolley and rail: once a year. Follow the manufacturer’s recommendation, especially with LiftMaster or Chamberlain systems where the rail coating may not need much.
- Track: apply a light amount annually. Don’t grease the whole track – it collects dirt and makes the rollers bind.
- Cables, springs under tension: never. Do not spray a failing spring.
Why the timing matters here: New Jersey’s seasonal swings mean summer heat (which thins lubricant) followed by a cold fall (which thickens it). Doors that operate loudly in January tend to be doors that were lubricated in July and never again. Lubricate before winter hits, not after – a properly greased door is quieter and puts less strain on the opener through the cold months. If your opener is straining even with good lubrication, our garage door opener repair team can diagnose whether it’s a gear, drive or force-setting issue.
Time estimate: 6 to 8 minutes for a full lubrication pass. Buy a single can of white lithium grease and it’ll last several rounds.
Rollers, Hinges and the Track: The Cheap Fixes
Most of the noisy, balky, off-track behavior homeowners complain about comes from the small parts: rollers, hinges and the track itself. These are cheap to check and often cheap to fix. Catch them early and you avoid bigger issues down the road.
Rollers first. Each roller slides up and down in a track along both sides. Inspect each one by hand (door closed):
- Flat spots or chips on the nylon roller surface mean it’s worn and needs replacement.
- Steel rollers with visible bearings grinding or loose, replace.
- A roller that wobbles inside its stem, replace.
- Rollers should rotate freely. If one drags, that’s friction the opener has to overcome.
Hinges second. Hinges hold the door panels together. Check every hinge (again, door closed, no tension on the door):
- Loose screws: snug them, don’t over-tighten; the metal is thin.
- Rust or cracked metal: replace the hinge.
- A hinge that feels stiff: lubricate before considering replacement.
Track third. Look at the track along both sides:
- Any bend or dent in the track, even a small one, forces rollers to work harder and can pull the door off-center. A minor bend can often be straightened; a real bend means replacement of that section.
- Visible debris in the track (leaves, grit, dried grease) – wipe it out. Clean tracks reduce noise.
- Track screws loose against the wall – tighten.
One more thing worth mentioning: local building departments generally want a permit when the structural support for a door is changed, not for routine part swaps. If you’re only replacing rollers or hinges, that’s maintenance. If a technician tells you the mounting needs work, ask about local permit requirements before the job starts. Our garage door repair team handles all of this in Plainfield and can give you a free estimate on any part-swap job.
Time estimate: 5 minutes to inspect rollers, hinges and track. Most replacements take minutes each.
What Your Opener Is Telling You
Your opener is the smallest part of the system and the loudest complainer. It rarely fails without warning – it grumbles, hesitates, or reverses. That’s information, and it usually points to something other than the opener itself. Here’s how to read what it’s doing:
- Grinding that only got worse over months: usually the opener gear or a worn drive system. Common on older LiftMaster and Chamberlain units.
- Door reverses before closing: the safety sensors aren’t aligned, or there’s an obstruction. Check sensor alignment first (they should be eye-to-eye, about 6 inches above the floor, with an indicator light on each).
- Door only opens a foot then stops: travel limit switch mis-set, or an obstruction in the rail.
- Opener runs but door doesn’t move: the door is disconnected from the trolley – check the red release handle, or the trolley is broken.
- Opener strains and the door moves slowly: failing springs (see the balance test above), not the opener. Don’t replace the opener until you’ve checked the balance.
- Clicking or humming without movement: opener motor or capacitor issue. Requires service.
One thing worth repeating: if the balance test shows your springs are failing, don’t blame the opener. Replacing an opener won’t fix a spring problem. Genie and Chamberlain systems are particularly sensitive to a door that’s out of balance, and they burn out faster under that strain.
On newer smart openers, alarms, or error codes, the manual (or the app for connected units) is the fastest place to start. If your opener is a legacy model with no digital diagnostics, troubleshooting gets harder; that’s where calling a technician saves time.
Time estimate: 2 minutes to open and close the door once, note the noise and behavior, and check sensor alignment.
A 20-Minute Monthly and Seasonal Schedule
You don’t need to do everything every month. Here’s a simple rhythm that matches the way doors actually wear in Plainfield’s climate:
Every month (about 5 minutes)
- Run the balance test (2 minutes).
- Look at the springs for orange dust and check both cables for stray strands (2 minutes).
- Open and close the door once by ear – new grinding or scraping is your cue to look closer (1 minute).
Every spring (about 20 minutes)
- Complete monthly check (5 minutes).
- Lubricate all rollers, hinges and the torsion spring (8 minutes).
- Inspect track alignment and wipe out debris (5 minutes).
- Check the opener’s safety sensors and reversal test (2 minutes).
Every fall, before the first freeze (about 20 minutes)
- Repeat the spring checklist (about 15 minutes).
- Re-run the balance test after the first cold snap, since cold thickens lubricant and can reveal a failing spring (2 minutes).
- Look at your weatherstripping along the bottom and sides. Cracks in the rubber seal let in drafts, and replacing it before winter is easy (3 minutes).
There’s no substitute for a trained eye once a year or so – a technician can spot subtle spring wear, cable rust, or track misalignment that’s not obvious from the ground. Our technicians have up to 8 years of experience and can also tell you how much life is left in older Raynor or LiftMaster systems after a quick look. If you’re in Plainfield and want a free estimate, call (855) 707-0472.
Common Mistakes to Avoid
- Reaching for WD-40. It strips existing grease and evaporates, leaving metal drier than before. Use white lithium or silicone-based lubricant instead.
- Trying to tension or adjust a torsion spring yourself. The springs carry hundreds of pounds of stored energy. Homeowners who’ve been injured doing this weren’t being careless – they were working on a component that’s genuinely not DIY.
- Ignoring a heavy-feeling door. If lifting the door by hand during the balance test feels difficult, the springs are already in trouble. A door that suddenly feels heavy is a warning, not a quirk.
- Replacing the opener when the door’s the problem. Openers get blamed for spring and roller failures constantly. Run the balance test before you buy a new opener.
- Greasing the whole track. Greased tracks attract dirt and grit, which makes rollers bind. Apply a light amount to contact areas only.
- Skipping the fall check. Cold weather is when spring failures happen. A pre-winter check in November catches what a July check couldn’t see. New Jersey gets real freeze-thaw cycles, and the door feels the difference.
- Not walking around the door once a year with a flashlight. Rolling doors reverse when a car is underneath it, and sensors get bumped out of alignment. Once a year, stand in the garage with a flashlight and look at the whole door, top to bottom, sides and center. You’ll spot things you’ve never noticed.
See the difference
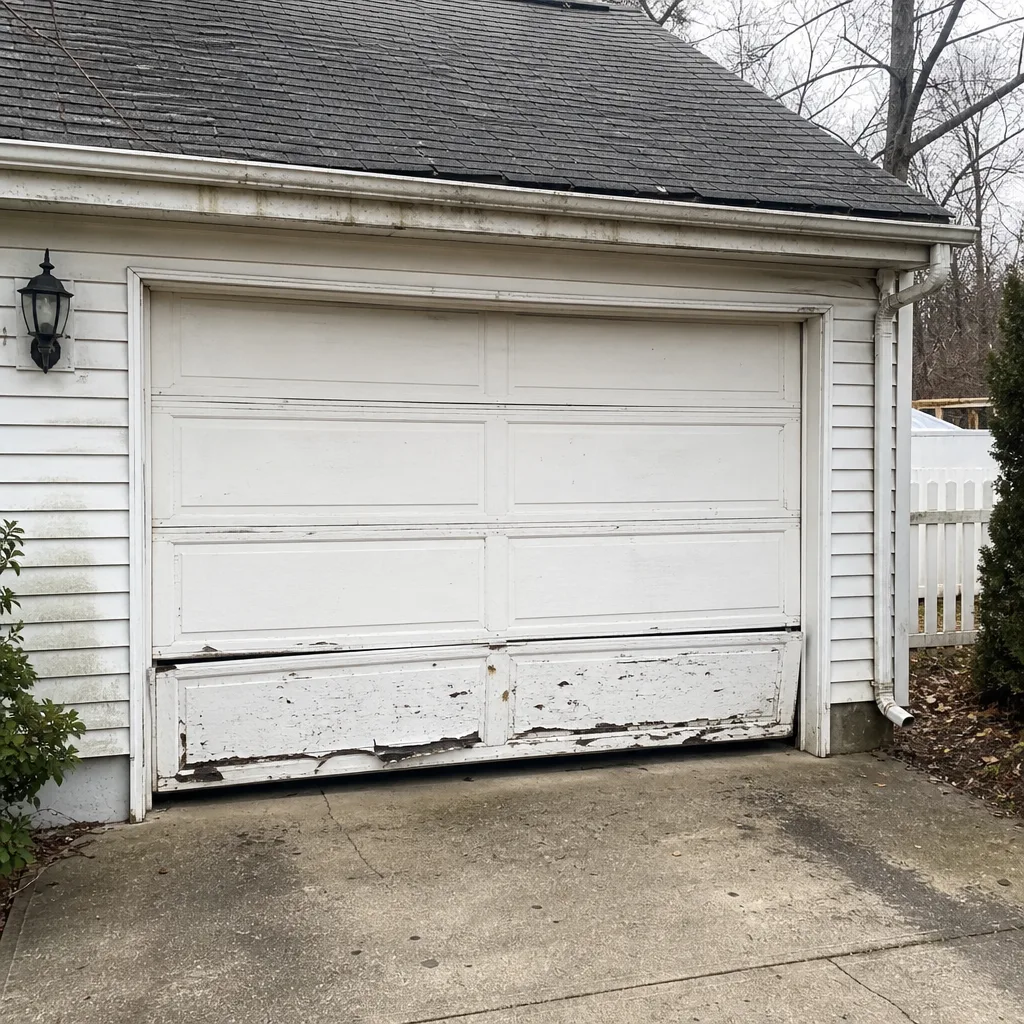 Before
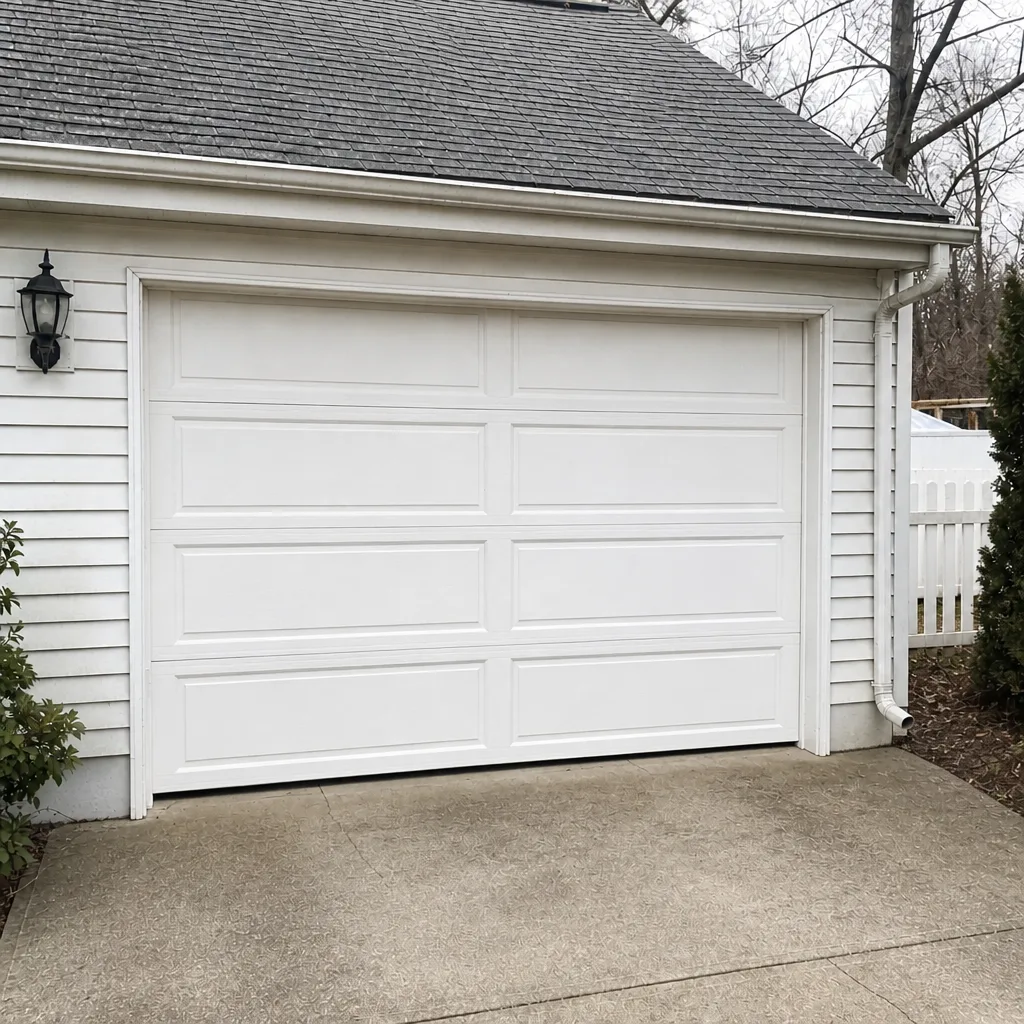 After
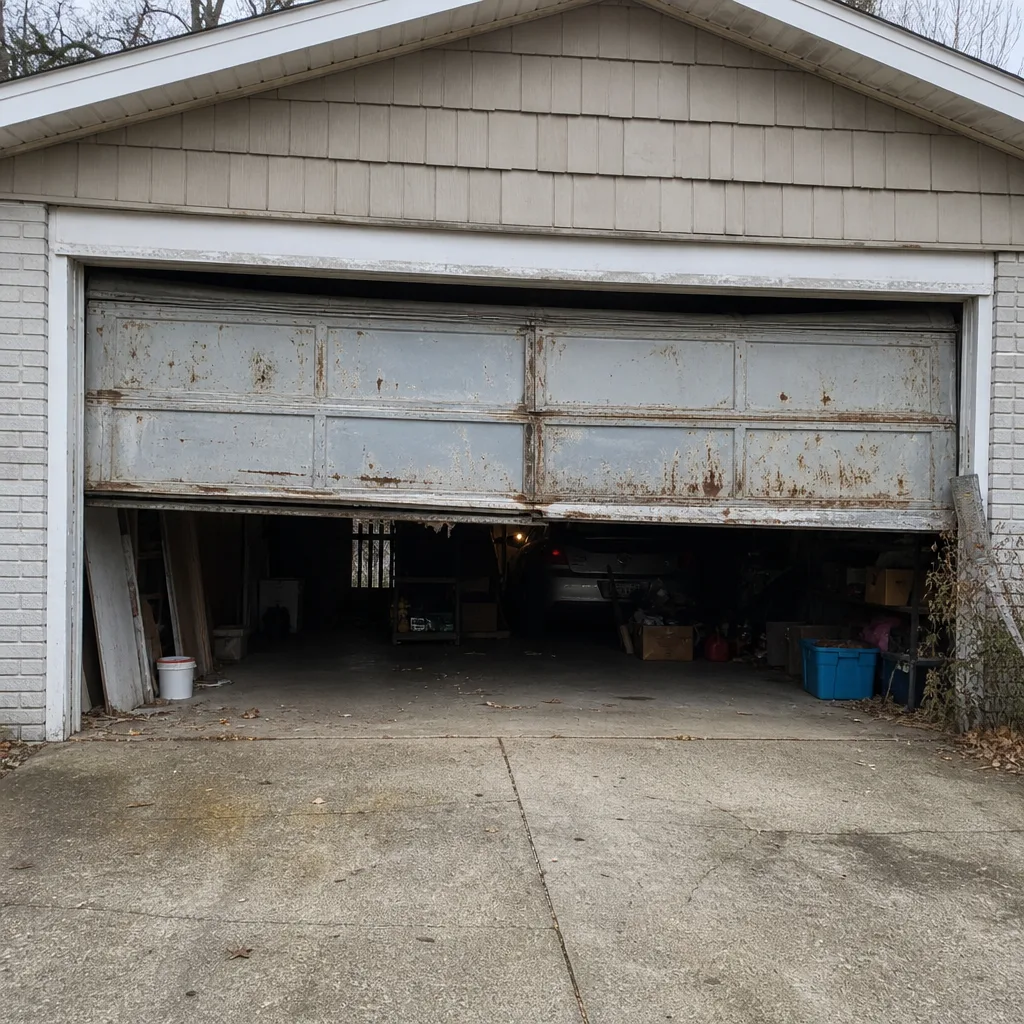 Before
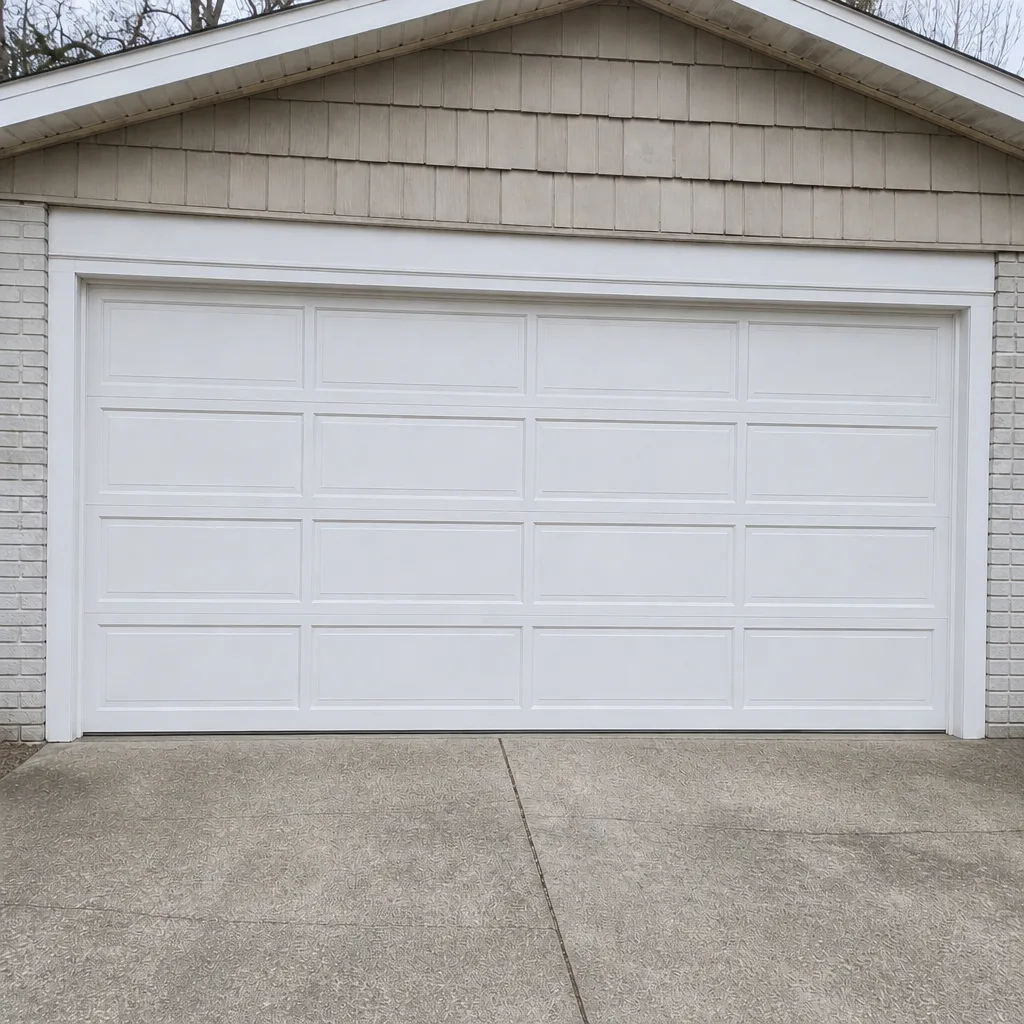 After
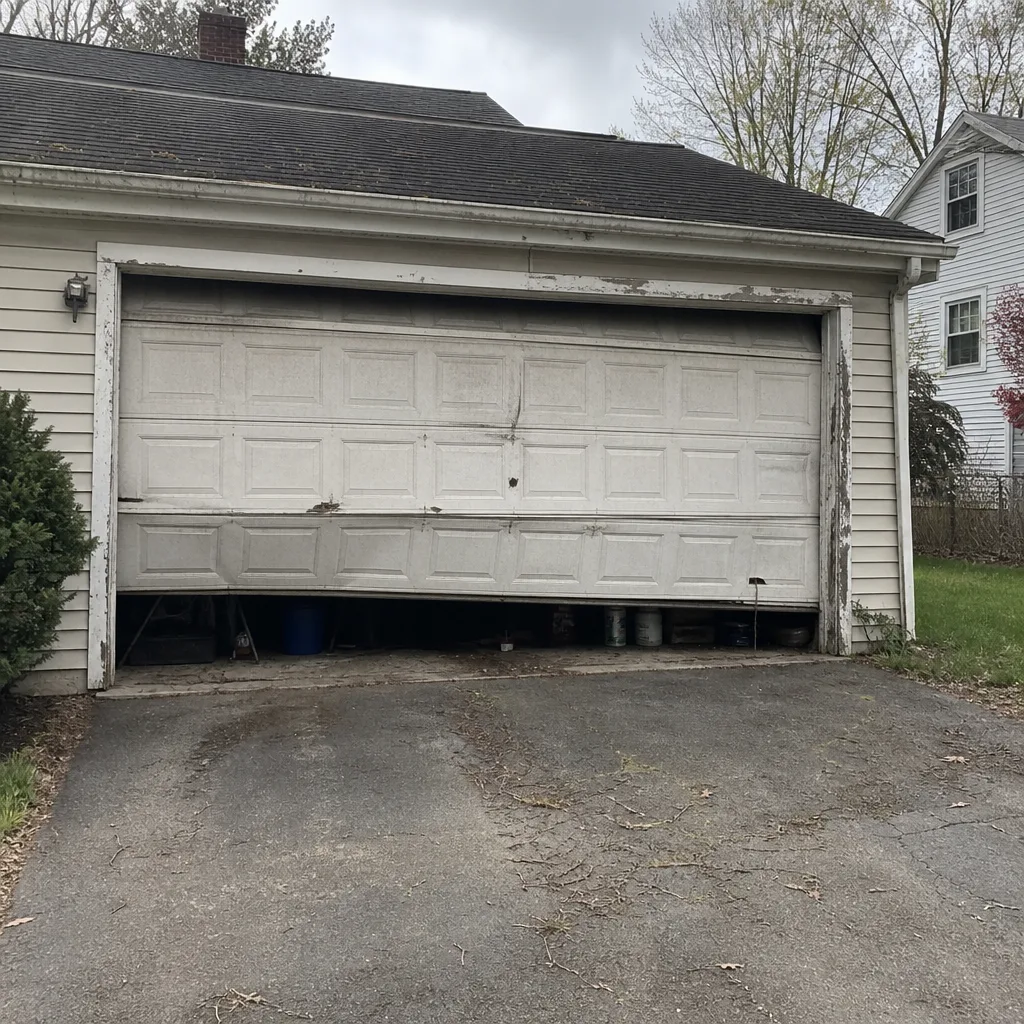 Before
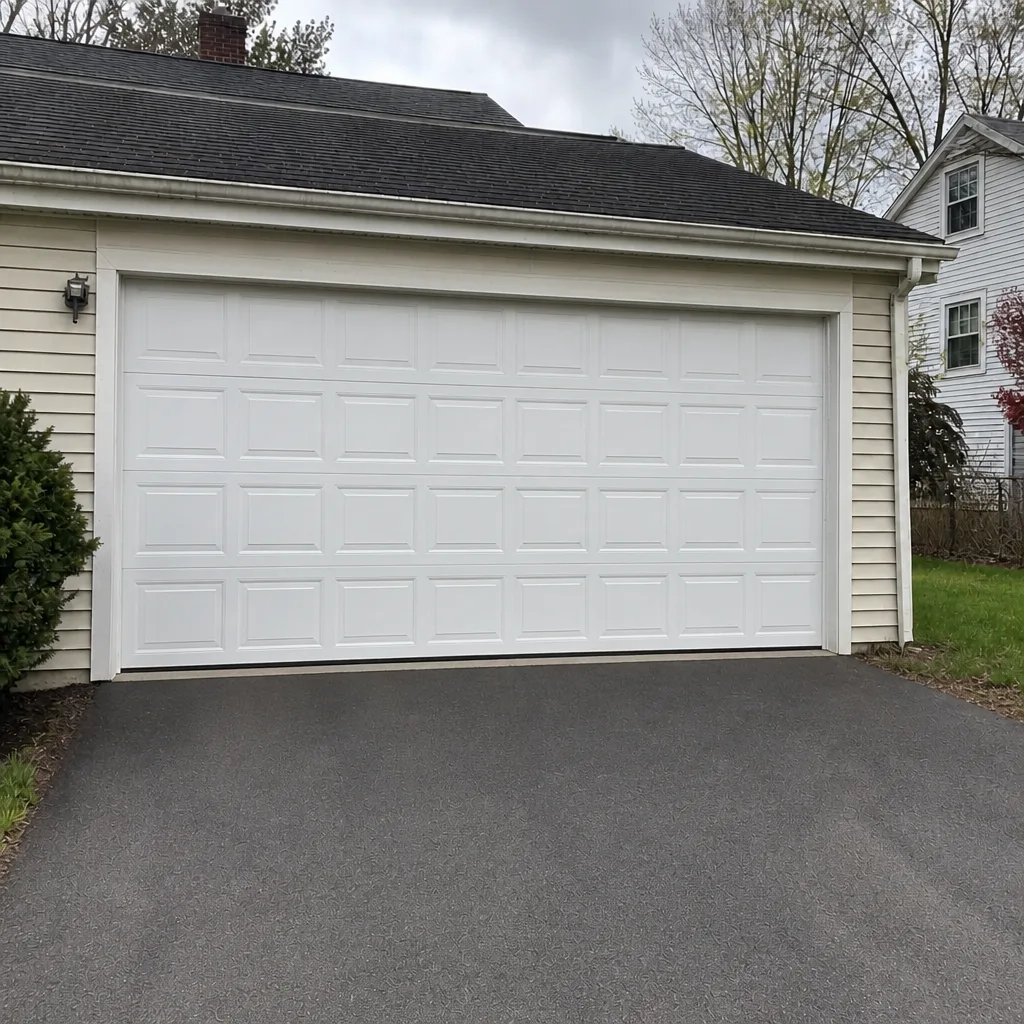 After
When to Call a Professional
If anything in this checklist turned up rust dust on a spring, frayed strands on a cable, a visible gap in a torsion spring, or a balance test failure, call for help. These are the conditions where operating the door further risks a snap. Also call if the opener hums without moving, the door reverses repeatedly, or the track has visible dents. A quick visual check told you something was wrong – now a trained technician needs to actually look. Our garage door repair work covers all eight of the major brands, including Raynor, LiftMaster, Chamberlain and Genie, so we diagnose the actual system you own. Plainfield Garage Door Repair Co offers free estimates – call (855) 707-0472 and we’ll get an honest read on what’s going on before anything gets opened up.
Frequently Asked Questions
Once a year for a full professional service, and a 5-minute homeowner check every month. In New Jersey’s climate, a spring service before winter is especially useful since freeze-thaw cycles are hard on springs and cables. A professional service usually covers a full balance test, spring and cable inspection, track adjustment, lubrication and operator check.
A bad torsion spring shows orange or brown rust dust around the coils, and often a visible gap in the coil pattern. You may also see a thin powdery film on the shaft collar or the floor beneath. Uniform, darker surfacing without powdery flakes is usually harmless aging. When in doubt, don’t operate the door – call for a look.
Yes – rollers, hinges, the trolley rail and the torsion spring can all be lubricated by a homeowner. Use white lithium grease or a silicone-based lubricant, not WD-40. Never lubricate cables or a spring that’s showing signs of failure, and don’t touch any pivot point under tension.
The balance test tells you whether your springs are doing their job. A balanced door holds itself in place when you let go halfway up. A door that drops or feels heavy means the springs have lost tension; a door that rises on its own means they’re over-tightened. Either way, springs need attention and the opener is bearing the strain.
No. A door off its track is unsafe – it can come down on a car or a person. Stop using the door, and don’t try to force it back onto the track yourself. A professional can assess whether the track needs straightening, replacement, or whether the door’s hinging has been damaged.
Routine repairs – replacing rollers, hinges, springs or an opener – typically don’t need a permit. Structural changes or changes to the door’s mounting and header support sometimes do. Ask your local building department before a structural job starts. Our technicians can tell you what category a job falls into before anything begins.
The Bottom Line
Garage door repairs get a lot less expensive when you catch them early, and you catch them early by looking. A 20-minute check every month – springs for orange dust, cables for stray strands, a quick balance test, and a listen to the opener – gives you weeks of warning before anything fails. Lubricate with the right product twice a year, before winter and after. Never touch a torsion spring or cable under tension. And when the checklist flags something you can’t judge from the ground, get a technician to look.
Our team at Plainfield Garage Door Repair Co handles all eight major brands and offers Plainfield Garage Door Repair Co with free estimates. If you’re in Plainfield and want a professional read on your door’s condition before the next season hits, call garage door opener repair – no, wait – call garage door spring repair. For a free estimate, call (855) 707-0472. Estimates are free, and the price is always quoted and agreed before any work starts.
Written by the team at Plainfield Garage Door Repair Co.